You want a confident smile and a smooth plan. We will guide you from the first visit to the final polish, so you know each step. If you search for a dentist, you likely want clear answers, simple choices, and predictable results. You will find that here. Take a breath, read on, and decide with ease.
Veneers 101: What They Are and How They Change Smiles
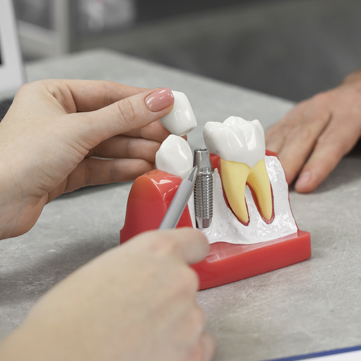
Veneers are thin, custom shells that cover the front of selected teeth. You choose them to improve color, shape, or small alignment issues. You keep most of your natural teeth. We plan the look, match the shade, and aim for balance with your lips and face. You gain a natural result when the shape and color fit your features.
Quick facts
- Material options include porcelain and advanced ceramics
- Typical cases take two to three visits after planning
- You choose shades that match or slightly brighten nearby teeth
Ideal Candidates for Veneers: See If You’re a Match
You make a strong candidate if you want whiter edges that last, smoother shapes, or small gap fixes. Your gums stay healthy, and your bite feels stable. You take care of daily brushing and flossing. If you need orthodontics or gum care first, we stage treatment so your results hold. You can also start with one or two test teeth for confidence.
If you just started searching for a provider of dental veneers near you, bring photos of smiles you like. We will point out shape details, brightness levels, and edges that suit your face. You set goals, not trends.
Visit #1: Consultation and Complete Smile Assessment
At the consultation, we talk about goals, timing, and budget. We take photos and digital scans. We check enamel thickness, gum health, and bite paths. You share what you love about your smile and what you want to change. We try a quick mock-up so you can preview the shape. You leave with a clear plan and a timeline that fits your schedule.
Design Phase: Custom Treatment Planning for Your Veneers
We build a blueprint for shape, length, and shade. You choose a brightness level that looks real in daylight. We select the number of teeth to treat so the smile flows. We confirm speech sounds for S and F so edges feel natural. You sign off once the design matches your notes and photos. That approval locks in predictable results.
Planning checklist
- Shade chart review in natural light
- Edge length test for speech and lip line
- Photo series from the front and profile
- Written goals saved in the chart
Prep Day: Minimal Tooth Shaping for a Seamless Fit
You arrive rested and ready. We keep the visit calm and efficient and remove a very small amount of enamel where needed so the shells sit flush. Our team will smooth edges and refine the angle, take final scans, and confirm comfort. You leave with clear aftercare and a short appointment for temps.
Test Drive Your Smile: Wearing Temporary Veneers
Temporary veneers protect your teeth and preview the look. You test length, width, and bite comfort during real life. You sip coffee, speak on calls, and smile in photos. You send quick notes about any tweaks you want. Try not to bite into hard food items with your front teeth while you wear temps. A smooth week with temps sets up a great final result.
From Lab to Lifelike: How Veneers Are Crafted
Our partner lab follows your scans, photos, and shade records. A skilled ceramist layers color and translucency so your veneers look like natural enamel. We will review progress photos and request fine changes when needed. That teamwork gives you lifelike edges, gentle texture, and a shade that blends with nearby teeth.
Bonding Day
You try in each veneer and check the mirror under different lights. We will adjust tiny edges until you feel perfect. Our dentist in San Antonio will bond the veneers, set the bite, and polish every surface. You practice smiling and speaking. You leave with a care plan and a short follow-up visit.
If you prefer a local check, search for a dentist near you to find a convenient spot for future cleanings.
Right after placement
- Skip very hard foods for 24 hours
- Use a soft brush that night
- Call me if a spot feels high or rough
How To Upkeep the Veneers
You protect your veneers with simple habits. Brush twice daily and floss once. Use a non-abrasive toothpaste. Wear a night guard if you clench. Schedule cleanings on a steady rhythm. Choose water between meals. Limit frequent staining drinks. If a chip occurs, contact the office quickly so we can polish or repair it before it grows.
Final Thoughts
You can enjoy a natural, lasting smile with a clear, stepwise plan. Start with a consultation, test the look with temps, and approve every detail before bonding. For friendly guidance and precise care, visit Terrell Hills Dental. We listen, plan with you, and support you after treatment so your smile stays bright and strong for years.